Although it’s possible to purchase high-quality weed from a dispensary, there are few things more thrilling than growing cannabis outdoors.
Having the ability to choose the right marijuana strain, the ideal location, and the best possible soil is one thing. Possessing the patience to see the entire project through is quite another.
If you live in a state where an outdoor grow is permitted, then this article is for you. This step-by-step guide will go through everything you need to know and show you how to grow marijuana outdoors.
Growing Marijuana Outdoors: The Beginner’s Guide
Just to be clear, growing cannabis is a time-consuming process. However, it is also an extremely rewarding one. This is a guide for a first-time grower who wants to grow quality cannabis without breaking the bank. If this is your first outdoor grow, and you miss a single step, then you may end up with a disappointing yield.
It is also an outdoor growing guide designed for small-scale cultivation. Before proceeding, it is crucial that you check your state’s laws. For example, weed is legal for recreational use in Colorado. You can grow marijuana plants as long as you’re 21 or older.
However, all marijuana growing areas must be enclosed and locked, and they can’t be viewed from the outside. In other words, it is tricky to grow cannabis outside and meet all state laws.
Incidentally, Colorado residential properties are allowed to grow a maximum of 12 plants, while medicinal marijuana growers are permitted up to 24.
We are offering this guide with the assumption that it is legal to grow marijuana plants in your state. First and foremost, it is imperative that you have the right climate for optimum growth.
Benefits of Growing Marijuana Outdoors
There’s no doubt that growing marijuana outdoors comes with challenges (which we address later on), but it also has a list of cool benefits:
- Eco-Friendly: Indoor growing uses a lot of electricity because it requires so much lighting, not to mention ventilation systems and other equipment. In California, it’s estimated that growing marijuana indoors uses the equivalent of 200 pounds of coal to grow just a single pound. Outdoor growing needs sun, air, water, and minimal equipment for your plants to survive.
- Better Quality Buds: Marijuana that is grown outdoors carries a distinctive flavor and aroma. As long as you choose the right strain, you’ll enjoy every single smoke.
- Low Cost: Assuming that you have selected the right location, outdoor growing offers unlimited sun, fresh air, carbon dioxide, and rainwater. Buy the best seeds, take good care of them, and when they sprout, they’ll need minimal maintenance. Once you learn how to handle pests and inclement weather, you’ll be surprised how easy it is to grow marijuana outdoors.
- Larger Yields: It is common for outdoor marijuana plants to grow nearly six feet tall. Plants of this size offer 500 grams of dried bud. A harvest from just six plants is usually enough to provide you with a year’s supply of premium cannabis.
Step #1: Determine the Climate in Which You’re Going to Grow the Marijuana
The climate is all-important when growing cannabis, with the primary concern being the amount of available sunlight. While this isn’t a problem in sun-kissed California, not every American state has the same luxury. However, don’t assume that glorious sunny weather is perfect for growing flowers.
When growing cannabis outdoors, you have to realize that, while weed is reasonably adaptable to different weather conditions, it is still vulnerable to temperature extremes.
For example, sustained temperatures of over 86 degrees Fahrenheit can prevent growth. On the other hand, temperatures below 55 degrees could kill your precious plants.
Step #2: Choose the Best Possible Location
Outdoor cannabis plants love basking in the sun. Therefore, find a plot that offers at least five hours of sunshine a day. Once again, residents of certain towns and cities will find it easier than most. For example, those who live in San Diego will experience 14 hours of sunlight during the Summer Solstice (June 21).
As we mentioned above, make sure the temperature of your location does not exceed 86 degrees. If your area regularly exceeds this temperature, then you will need to be careful where you cultivate your plants.
Look for a plot that gets direct sunlight early in the day and filtered sun later in the afternoon. It is also ideal if you can find a place that offers a constant breeze. However, bear in mind that this increases water consumption.
Areas that are subject to high wind will need a wall or hedge to act as a windbreak. Then, there is the small matter of privacy and security.
Even if it is legal to grow outdoors in your location, there will always be judgmental individuals and possible thieves. Try to plant your marijuana so that it is hidden behind tall fences or shrubs.
It may also be worth investing in wire cages to keep animals at bay. As already mentioned, some plants often grow over six feet tall. However, some plants, when grown outdoors, can become so tall that they resemble mini-skyscrapers. These plants can sometimes be over twelve feet in height, so make sure you plan for this.
Some Potential Grow Sites for Outdoor Growers
It isn’t easy to find the best location. Not only must it offer ideal growing conditions, but it must also be safe from discovery, even when planted legally. If you are adhering to the law, private property is best because you have full access and can control security. Otherwise, you have to risk public property, which increases the chances of discovery.
Some places to consider for an outdoor grow include:
- Balcony: This allows easy access; however, it is also highly visible. Frosted plastic film can conceal your plants and reduce the spread of the scent. As the U.S. is in the northern hemisphere, it is best if your balcony faces south. This will ensure your plants get the most sunlight during the day.
- Personal Garden: Again, your plants are highly visible but easily accessible. If you have the right security measures in place, this is the best location.
- Roof Terrace: Guarantees the maximum amount of sun, but strong winds and odors are an issue.
- A Forest: Streams provide an excellent source of water. Alternatively, you can dig a couple of feet into the earth to find groundwater. It is well hidden, but just about anyone could stumble upon your stash. As the soil is also likely to be acidic, it is best to use huge pots filled with premium-quality soil.
- An Open Field: You will need to camouflage it with other plants that are capable of growing as tall as marijuana. Look for land where nettles grow. This is a sign that the soil is filled with nitrogen, which is an essential nutrient for healthy marijuana growth.
Tips for Choosing a Grow Site
When choosing the ideal location for your outdoor grow, look for the following features:
- Sunlight: More sunlight equals bigger plants and larger yields.
- Water: Marijuana plants thrive in most areas as long as they get enough water.
- Wind: A gentle breeze is perfect because it helps develop robust root systems. Heavy winds can damage or destroy a crop.
- Soil: We explore soil choice below, but suffice it to say, it has to be rich in the right kind of nutrients.
- Access: You don’t need to spend as much time tending to outdoor plants as their indoor counterparts. However, you still have to visit your crop every couple of weeks. This helps you identify if they lack nutrients, need more water, or are infested with pests.
- Security: If your crop is easy to access, don’t be surprised if someone comes in and helps themselves. We urge you not to break the law. Getting caught will result in a massive fine and possibly jail time.
Step #3: Buy the Best Soil for Your Plants
We are assuming that you intend to grow your cannabis plants from seed. In this case, you should germinate indoors during the early spring. In a warmer climate, seeds can start to sprout by early April. If you live in cold weather, this process probably won’t happen until May.
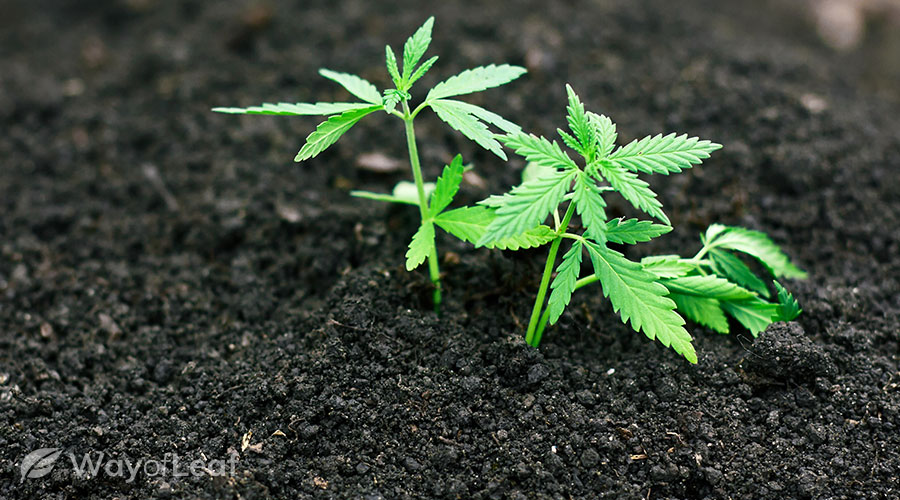
Typically, seeds only begin to germinate when exposed to constant temperatures of 65 degrees Fahrenheit. Experts suggest keeping your plants indoors for up to four weeks before bringing them outside when the weather is more suitable.
When choosing the right soil, bear in mind that it is made up primarily of clay, sand, and silt. Your plants require slightly acidic soil with organic matter that has been adequately drained. Therefore, you have to test the soil if you intend to plant your cannabis directly on the earth.
Different Types of Soil
If you decide to use the soil on the earth, make sure you have its pH tested. Otherwise, purchase the soil from a garden store. Please remember that even store-bought soil could use added nutrients from compost. Your options include:
- Clay-rich soil: This is heavy, doesn’t hold oxygen particularly well, and drains very slowly. Dig the holes for the marijuana around four weeks before you start planting. Add significant amounts of manure, compost, and any other decomposed organic matter. This process improves drainage, offers aeration, and ensures your marijuana plants receive adequate nutrients.
- Sand-Rich Soil: This is a good option because it drains well and warms quickly. On the downside, it doesn’t hold nutrients very well, and this can be problematic in wetter climates. Dig holes for the plants and add peat moss and compost to bind the soil together. If you live in a warm environment, mulch the soil to prevent the roots from overheating. This process also helps the soil retain water.
- Silt-Rich Soil: This is the best soil for growing marijuana plants because it warms rapidly. It also has excellent drainage, holds moisture, and is easy to work with. You will find the best silty soil at the bottom of lakes or in prehistoric riverbeds.
Step #4: Add Some Fertilizer to the Plants
For outdoor growers, it is best to skip commercial fertilizers and focus on organic fertilizers. You should add it to the soil before planting and throughout the growth cycle. Natural options include:
- Compost
- Kelp Meal
- Blood meal
- Fish meal
- Worm castings

Adding these to the soil before planting means you won’t have to add as much fertilizer during the growing cycle. After planting your marijuana in premium-quality soil, you don’t need to add anything else for a few weeks.
It is tempting to make your soil amendments with store-bought fertilizers, but remember, they are filled with chemicals. This can significantly impact the flavor and aroma of the finished product.
If you elect to purchase soil from a store, don’t assume that it has a balanced pH level. Also, don’t think that it will maintain this standard for the duration of the season, either. Ideally, your soil’s pH will be 7.0. However, it may change over the course of a couple of months and become too alkaline or acidic.
It is a fact that some store-bought soils are too acidic at the beginning. This means you have to use organic fertilizers after a couple of weeks because the plants are lacking crucial nutrients.
Composting is the way forward because it is cheap and relatively simple. You can also add all sorts of organic matter, from fruit clippings to animal manure. Avoid using meat or animal fat, as it will attract pests.
Layer the compost heap and ensure proper airflow. Turn the heap every few weeks and test the pH regularly to ensure it is balanced. These days, consumers are turning to supersoil to help fertilize their plants. This is organic, pre-fertilized soil, which contains all the nutrients marijuana needs.
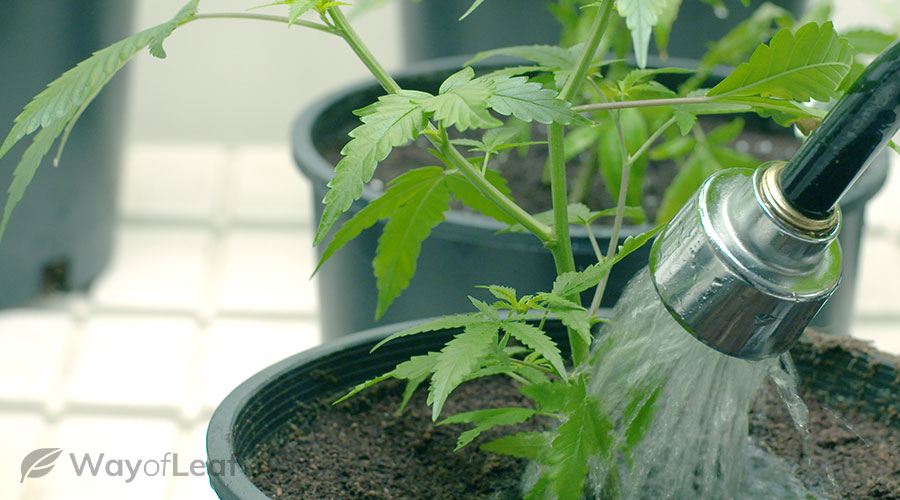
Step #5: The Importance of Properly Watering Your Cannabis Plants
Obviously, your plants need water, and the benefit of growing outdoors is that your marijuana should be exposed to rainwater. However, in places like California, the hot summer months mean minimal rainfall, so you have to water your plants manually. The main danger is overwatering your cannabis. A good rule of thumb is that a large plant needs 10 gallons of water a day during hot weather.
If you live in a dry and hot climate, then try this tip. Dig beneath your plants before adding rocks or clay-rich soil beneath the planting holes as a means of slowing drainage. Some growers believe that adding polymer crystals to the soil helps improve water retention as these crystals absorb water.
Three Ways to Boost Drainage
Those who live in wetter than average climates need to improve drainage. Marijuana that grows in waterlogged conditions is susceptible to root diseases. Here are three ways to improve the drainage of your soil:
- Plant your weed in beds or raised mounds.
- Dig ditches to ensure that the water flows away from your plants.
- Add clay pebbles, perlite, and gravel to the soil.
If you use tap water, test it first. It could have a significant number of dissolved minerals that build up in the soil and impact the pH level. Alternatively, tap water could contain an excessive amount of chlorine, which is very bad for the soil. Therefore, we recommend filtering the water you use.
Some people use a container garden instead of planting straight into the soil. If you opt for this, bear in mind that they dry out much faster than soil. Therefore, you may have to water your plants daily. Additional watering is also necessary for warm or windy conditions. To avoid overwatering, wait for the top inch of the soil to be dry before adding more. Invest in a soil moisture meter to make things easier.
WAYOFLEAF’S CHOICE – Homegrown CannabisCo
Homegrown CannabisCo are the masters when it comes to seeds. Offering a massive variety of cannabis seeds that are well categorized, not only does this company create a resource for superb quality options including feminized seeds, it also provides extensive growing information for those looking for some support along their journey.
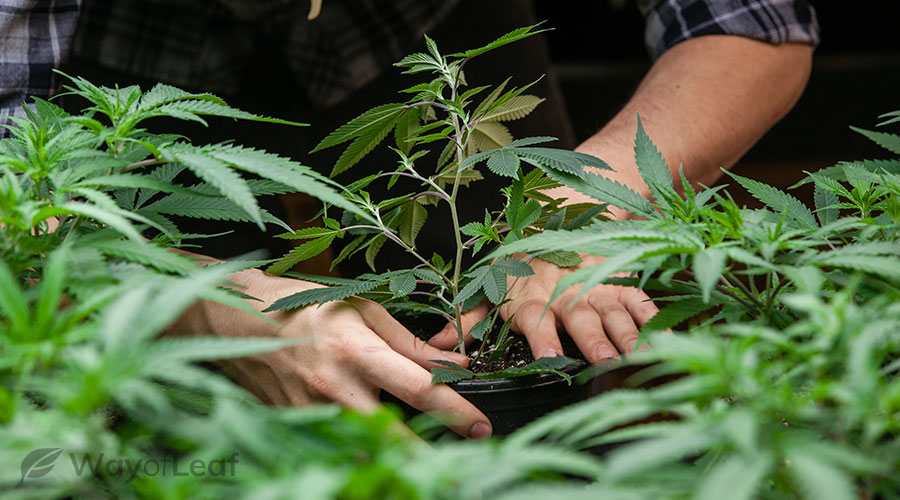
Step #6: Select Carefully the Type of Container You Need
If this is your first outdoor grow, you may not realize that the surrounding soil is unsuitable for growth until you try and use it. If so, you have no choice but to use container gardens.
Also, when using natural soil, you have to dig holes and amend the soil regularly. This level of manual labor will prove difficult for people with debilitating medical conditions.
One of the main advantages of container gardens is that they can be placed anywhere. Therefore, you can grow your weed on a patio or even on a rooftop. Make sure you move the plants around to make the most of the available sunlight. You can also use store-bought, nutrient-rich soil, which simplifies the fertilization process.

Take note that growing the weed in containers will impact the size of the plant. Container-grown marijuana will be smaller because root growth is restricted. In other words, the size of the container determines the size of the plant.
You will have to learn specialized techniques if you wish to grow a few large plants.
Don’t use a container smaller than five gallons. If you want large plants, try 15+ gallon containers. There are even 100-gallon container bags!
If you live in a warm climate, be wary of excessive heat damaging the roots. It is normal for container-grown pots of soil to exceed 90 degrees on a hot day. Always water the plants generously in the morning to ensure they don’t dry out during sweltering afternoons.
Airflow is also critical, so be sure to invest in breathable containers. These enable air to penetrate the root zone quickly and ensure that oxygen gets to the roots. Once marijuana plants breathe in the CO2, the roots use the most with the highest consumption occurring at night.
Step #7: Protect your Cannabis Plants from Pets and Inclement Weather
Outdoor cannabis growers face a significant disadvantage compared to their indoor growing counterparts; outdoor plants are vulnerable to inclement weather. Also, plants grown outdoors are susceptible to attack from pests and pets. Rapid changes in the weather can damage or even kill cannabis plants, while animals and aphids are a constant threat.
Protecting Your Marijuana Plant from Pets & Pests
Don’t just focus solely on bothersome insects. Larger animals, such as rodents, dogs, cats, rabbits, deer, and raccoons, can damage or eat your crop.
While insects damage your plants over a few days or weeks, larger animals can destroy them in minutes. You must examine your cannabis plants daily.
You should be able to deal with animal threats by surrounding your plants with a high and sturdy wire fence. If you are concerned about birds, you can place netting over the plants.
Threats like moles, which push up from the soil beneath your plants, require extra planning. An excellent way to prevent them from causing damage is by building a fence around 2–3 feet beneath the soil. You can also use deterrents, such as urine from predators like coyotes, to ward off rabbits, gophers, and raccoons. Household items such as garlic and castor oil are pretty effective deterrents, too.
It is imperative that you keep your marijuana healthy because blooming plants have a natural resistance to specific pests. You can add ladybugs and lacewings, as these predators keep harmful pests at bay while doing no damage themselves.
Pyrethrum is one of the most popular organic insecticide options. Homemade remedies include combining soap with water and misting your plants with it. Soap and water solution is effective against a mild outbreak
Garlic is useful for fighting beetles. Check your plants daily for signs of infestation and act immediately if you see any issues.
Another method of fighting pests is to grow companion plants. Companion plants are plants of a different species to cannabis that you plant near your crop. Clover, rosemary, basil, and marigold are good choices as they are capable of repelling pests.
Protecting Your Weed from Rain & Wind
High winds are a significant problem for cannabis growers as it can damage the plants. It can break branches, damage trichomes, and leave your weed vulnerable to disease and infestation. Any type of excess strain like this can over-stress the plants, causing the buds to produce seeds. You do not want this to happen.
If your crop is in a windy spot, create a windbreak, such as a wall. Alternatively, tying perforated plastic sheeting to garden stakes is also effective.
Although rainwater helps your plants grow, too much of it results in mold and mildew. This problem is at its worst during the flowering stage.
If you live in a wet climate, choose a mold-resistant marijuana strain and support it with stakes or cages. Otherwise, rain will collect on buds and leaves, weighing down your plants. Alternatively, try to predict wet spells and be prepared by adding a makeshift shelter to your crop.
Protecting Your Precious Crop from High Temperatures
It is best to maintain the temperature between 55-86 degrees Fahrenheit for as much of the growing cycle as possible. Marijuana plants can survive outside this range for short periods.
However, once the temperature goes below 42 degrees Fahrenheit, most varieties of cannabis will be damaged quickly. If excessively cold temperatures are a problem, use protection such as cold frames, hot caps, or cloches.
Step #8: Choose the Right Genetics
First, consider your climate because it will dictate the kind of marijuana strain you can grow. If you live in an area with a history of cannabis growing, find out what strains people have grown. There are also likely strains available explicitly for that climate.

Picking the Right Marijuana Strains for Your Climate
Whether you like it or not, certain strains don’t grow well in specific climates. No matter how much care and attention you give your crop, its yield will always be disappointing.
It is important to remember that cannabis plants start flowering as the days get shorter. This is why growing marijuana in northern latitudes is a problem. Your cannabis will flower. However, the process happens too late to get the most from the sun in late summer.
Due to plentiful sunshine, Southern California growers can grow these strains and not worry about late flowering. Growers in British Columbia, on the other hand, won’t achieve a decent yield because they won’t finish flowering until December. By that time, the lack of light, cold weather, and heavy rainfall will probably have killed the plant.
Cannabis Seeds vs. Clones – Choosing the Best Seeds on the Market
The best genes equal the best marijuana. Marijuana with good genetics not only smells and tastes fantastic but is also extremely potent.
Indoor growers tend to grow their marijuana from clones, while outdoor growers prefer to grow from seed. Either method produces quality buds, and both have advantages and drawbacks.
Clones
If you elect to clone, you need a mother plant. You can buy clones from your local dispensary. However, to ensure that they don’t flower, clones require at least 16 hours of light a day.
All clones are female plants that have the same traits, and they are known for producing premium quality weed.
You must root the clones indoors before they are ‘hardened off.’ This is the process of moving a plant outdoors for a few hours a day. This method gradually exposes them to air, cold nights, and sunlight.
The main downside to using clones is that they produce small yields. If you want a more abundant harvest, you have to grow the clones indoors during the winter and early spring. Cloned plants never develop the thick central taproot that goes into the ground, which stabilizes the plant and consumes groundwater. As a result, they are vulnerable to drought and windy conditions.
Seeds
Plants grown from seed offer larger yields and are more robust in the face of inclement weather conditions. You can plant these seeds in the garden in the spring, even if it is still cold and wet outside. Another option is to begin the growing process indoors, but they have to be hardened off eventually before they are transplanted.
The chief downside to growing from seed is that the outcome is less predictable than it is with clones. If you don’t choose an inbred seed line, you could end up with a different plant to the one you expected. Also, cannabis seeds produce males and females. This means you have to sex your plants when they achieve sexual maturity. This process involves culling the male plants. You can avoid this issue by purchasing feminized seeds.
Another option for outdoor growing is auto-flowering seeds. As soon as they reach maturity, these plants begin to bloom, regardless of the length of the days. If you live in a temperate climate, you will benefit from two crops every year by using auto-flowering seeds. Simply plant one crop in late winter (or even early spring) and another at the beginning of summer.
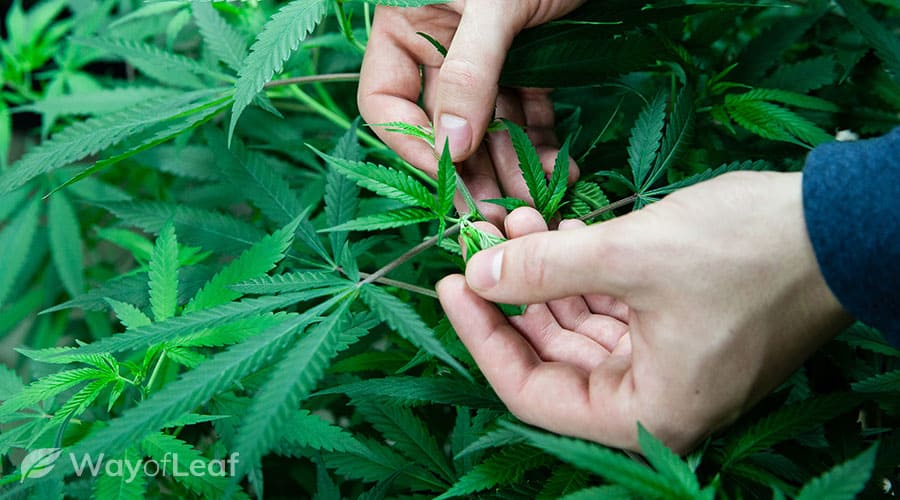
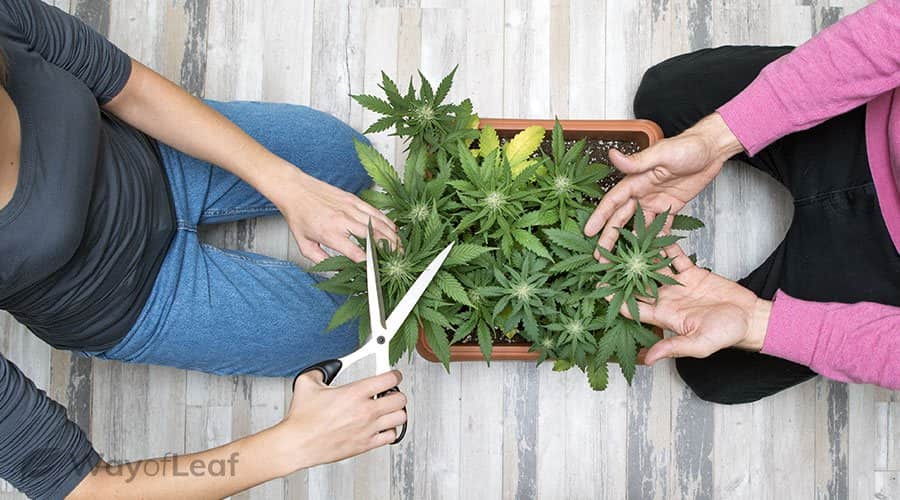
Step #9: Cut Your Cannabis Plants Carefully
You can use training tools such as screens and ties to ensure the plants grow in a specific shape. You need to prune your plants if you’re concerned about height control, an essential element of low-key growing!
Make sure you trim your plants regularly to help them attain optimum growth. Get rid of unnecessary cannabis cuttings because leaving dead leaves and branches will only attract pests. Pruning also enables you to shape your plant. If you see new shoots that are not growing properly, take a pair of pruning scissors and trim them away. This will help your plants develop bigger buds.
The type of strain you’re growing dictates the duration of flowering. For example, most sativa strains will go through the full growth and flowering cycle in a little over three months.
Lastly, make sure female plants are not exposed to males. Otherwise, pollination could occur, decreasing the quality of the harvest. If your strain begins flowering during a wet season, excess moisture exposure could prove troublesome. In this instance, find shelter for the plants to prevent mold and mildew growth.
Step #10: Grow, Enjoy, Repeat!
Most cannabis strains are ready for harvest between the end of September and the first week or two of October. Although, this does depend on the strain and climate conditions. Monitor pistil and trichome formation to gain a better idea of when your plants are ready for harvesting.
The growing process can take anywhere from two months to 8+ months. Your plants are ready to be harvested when approximately 70% of its pistils turn from white to a reddish-brown color. If the pistils are turning red, harvest immediately!
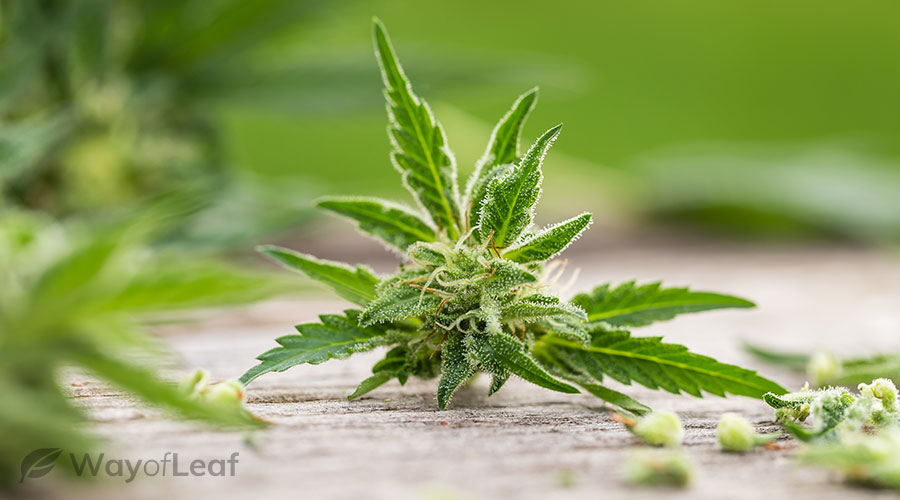
Other signs that it is time to harvest include brown resin on the buds, a broader stem, and if the leaves of the plant begin to turn yellow and die back.
At this stage, the plant’s trichomes should have turned opaque white, too. This is a good indication that they are fully mature and ready for harvesting.
Experienced growers also recommend keeping an eye out for a change in color in the plant’s stigma. A good sign that the plant is ready for harvesting is when the stigma changes in color from white to orange. However, most growers agree that the most accurate method to determine when it is time to harvest is to wait until the trichomes have turned opaque white.
You must be careful not to wait too long to harvest because marijuana plants suffer a decline in health once they have completed the flowering phase.
Is There a Precise Time to Harvest?
It is impossible to provide a ‘precise’ time to harvest. Most experts believe that you should harvest an indica strain eight weeks after flowering. Sativas usually require harvesting ten weeks after flowering. Strains that come from auto-flowering seeds should take ten weeks to grow from seedling to bud. These are just simple guides, however.
When harvesting outdoors, make sure you have the requisite tools. When it’s time, bring sealable bags. We recommend carrying a holdall if you use Ziploc bags for added security. Cut the marijuana plants into lengths that make them easy to transport. In other words, make sure they fit in your bags!
Congratulations! You have successfully grown a healthy and hearty batch of marijuana. We would love to tell you that it’s time to light up and celebrate. However, there are a few more key things you have to do first. Most pertinently, curing and drying the buds.
Once you have a successful harvest under your belt, move on to the next stage with our article on Drying and Curing Cannabis Buds.

![What Is NPK? [Fully Explained]](https://wayofleaf.com/wp-content/uploads/2019/07/mj_what-is-npk_1920-640x225.jpg)
![8 Tips for Growing Bruce Banner Marijuana [Grower’s Guide]](https://wayofleaf.com/wp-content/uploads/2019/01/wol_growing-bruce-banner-marijuana-640x225.jpg)


![Growing White Widow Cannabis [The Grower’s Guide]](https://wayofleaf.com/wp-content/uploads/2018/09/wol_1920x450-13-640x225.jpg)

![How to Solve Drooping Weed [Essential Hacks]](https://wayofleaf.com/wp-content/uploads/2019/08/wol-banner-drooping-weed-640x225.jpg)
