The art of growing quality weed takes time and patience. Although some might be naturals, most of us have to practice to get it right. If you are a newbie and thinking of growing a plant, take a look at these 10 tips. They are guaranteed to put you in the right direction.
Oh, and for those of you who class yourselves as weed-growing pros, these tips are an excellent refresher course.
So here they are: The 10 Things Not to Forget When Growing Your Own Marijuana Plant
1) Use High-Quality Seeds
This one is a no-brainer, but we have to say it as it is the infrastructure of everything. Choose quality seeds! Not the ones you get from your local hook-up guy or the cheap stuff you’ll find in your shady dispensary. When choosing seeds, always go for feminized ones and purchase them from a reliable source.
2) Buy Good Equipment
Think of this as an investment. Once you start cultivating, think about how much money you are going to save. You want to get it right, right? So get good equipment that will allow you to grow some of the finest produce.
3) Invest in Soil
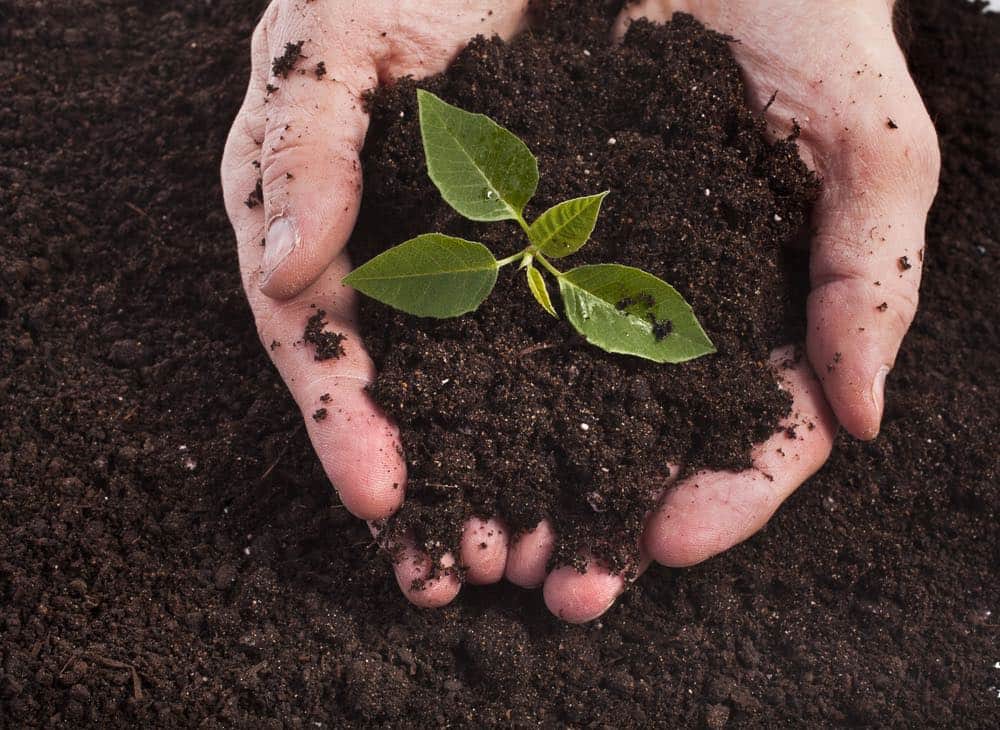
One of the major mistakes new growers make is that they use old or low-quality soil. You know, the stuff that sits in the basement for years until you remember that you need it. Bear in mind that your plant is going to plant its roots in the soil you provide and drink from the moisture in the soil. Think about this: You wouldn’t want to drink from a dirty glass, would you? So make sure your plant is drinking from healthy soil. It is always best to purchase around 1.5 times the amount of soil it requires to fill up your vase.
4) Let Your Seed Sprout
Some growers can’t be bothered with all the hassle and bassel of letting the seed sprout and, then, planting it correctly. This is a mistake. Best practices advise allowing the seed to germinate so that you can monitor the plant more effectively. The way to do this is by placing the seed in between two wet paper towels, in a dark place until it sprouts. Once you see a tail coming out, then plant it in the ground, tail first at a 45-degree angle.
5) Water Your Plant
Notice the first few leaves popping out of the stem? Congrats. Now, you have to make sure that the earth is constantly moist. Don’t flood it with water. There is a little trick you can do to test the soil. Poke your finger into the soil, around one centimeter down. If it’s moist, then you’re fine! There is no need at this point for an automatic sprinkler or some other contraption. You can also spray water on your plant to keep it moist and shiny.
6) Lighting
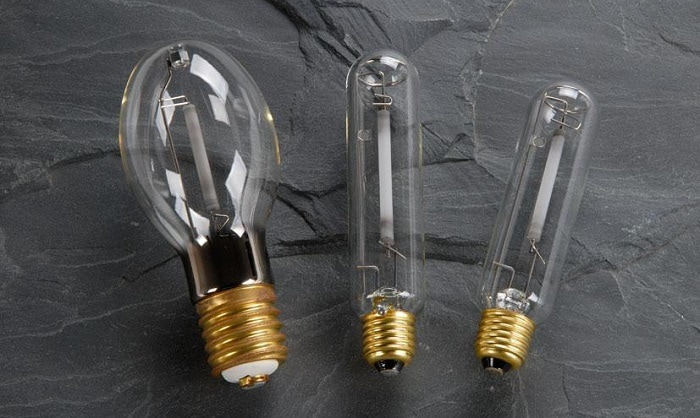
From the moment your plant starts drinking, it is also going to need light. Don’t settle for fluorescent lights or some other cheap stuff. Get a high-pressure sodium light. Also, know the cycles! Your plant will need around 18 hours of light and 6 hours of darkness per day. One thing is for sure: don’t think you will remember the routine. Purchase an automatic timer that goes on and off accordingly. After around eight weeks, shift over to 12 hours of light and 12 hours of darkness.
7) Use High-quality Fertilizers
This is not always a MUST, but it is handy to have. When purchasing fertilizers, try to purchase ones that are good for the first two development stages of your plant. Purchase only American-made fertilizers or ones from reputable brands.
8) Nurture Your Plant with Loving Care
This might sound a bit funny, but the more love you give your plant, the more it will love you back and provide you with some of the best buds. We heard that people sing to their plants, stroke them, and tell them that they love them. Calm music can often do the trick. Most recommend classical music.
9) Let Your Flower Bloom
This part is the most important. Get it right, and you will have some quality weed. If you get it wrong and trim your plant too early, you’ll miss out on some of its amazing potential. The blooming period can take around 8 weeks, depending on the strain. It is best to purchase a small magnifying glass and monitor the trichomes. At first, they will be transparent, which means they are not ready. During the second stage, they will turn grayish. Then, they will become darker. This is the best phase to harvest your crop, as afterward, the trichomes change color to brown amber. Then you know it’s too late.
10) Drying is the Name of the Game

You’re finally there. Your weed is out of the ground, your scissors are ready to cut away, and you can literally smell that wonderful smell of weed. It is important to remember that the drying phase is the most important part of the process. During this stage, you will have to dry your plant so that excess water evaporates. Make sure the air where you are drying your buds is pollution-free. The amount of time you need to dry your weed really depends on the amount of weed. Anywhere for a week or more will do the trick.
Bonus Tip
If you really want quality weed, it’s best to cure it. This is done by placing it in a glass jar and letting it breathe for around 20 minutes once a day. There are lots of different techniques for this, but if you want to grow the best weed, be sure to age it.


![What Are Biofilms? [And Can They Help Cannabis Growers?]](https://wayofleaf.com/wp-content/uploads/2020/05/wol_what_are_biofilms_1920x450-640x225.jpg)

![Mold Resistant Marijuana Strains [Top 5 Picks]](https://wayofleaf.com/wp-content/uploads/2020/04/wol-banner-mold-resistant-marijuana-strains-640x225.jpg)

![Why Does Cannabis Turn Purple [Myths and Facts]](https://wayofleaf.com/wp-content/uploads/2018/11/wol-banner-why-does-cannabis-turn-purple-640x225.jpg)
![What Is a Feed Chart? [Learning to Grow Marijuana 101]](https://wayofleaf.com/wp-content/uploads/2018/11/mj_what-is-a-feed-chart-growing-cannabis-640x225.jpg)
![How to Make a Marijuana Grow Tent for Just $2… [Say WHAT!?]](https://wayofleaf.com/wp-content/uploads/2018/10/wol_how-to-make-a-marijuana-grow-tent-for-just-2-say-what-640x225.jpg)
![Growing Sweet Sinsemilla Bud [The Ultimate Guide]](https://wayofleaf.com/wp-content/uploads/2018/08/wol_growing-sweet-sensimilla-bud-640x225.jpg)