So here’s the deal: THC oil for e-cigs or other kinds of portable vaporizers has become an incredibly popular “consumption method” over the past two years or so. But unless you have a medical marijuana card or live in one of the states where you can buy weed recreationally, it can be SUPER tough to get your hands on a quality juice, especially if you’re using some of these cheap, run-of-the-mill pre-filled cartridges.
THC vape juice that you get down at random vape shops, for example, is (to put it nicely) questionable at best. And a lot of the stuff you can order online is made from harsh solvents like propylene glycol, which has been known to break down into carcinogenic (cancer-causing) formaldehyde when heated to extreme temperatures (even if you’re using the best vape pens on the market).
Wondering how to make a safe, high-quality, wickedly potent THC oil? We’ve got your back…
As such, we’ve put together this basic DIY guide for how to make THC oil for your e-cig and/or portable vaporizer. The obvious advantage when you do it yourself and use your own materials is that you know exactly what’s going into the product. Thus you (should) know that it will be safe and effective.
That said, dealing with ANY kind of chemicals and solvents can be tricky and intimidating, and thus the process should not be attempted if you don’t have the proper equipment, and/or if you don’t feel comfortable with any of the steps.
Furthermore, it must be noted that this guide is for informational purposes only – we do not particularly recommend you do this. It’s always better to buy from an established manufacturer whenever possible. Therefore, we take ZERO responsibility for any ensuing hazards, mishaps, injuries, or any other dangerous/negative outcomes.
If you’re still here, though, and that little disclaimer didn’t scare you away, here’s the ultimate DIY guide to how to make THC oil for E-cigs and portable vaporizers!
What You’ll Need to Create a Safe THC Oil for Your E-Cig or Vape Pen
In terms of the materials that you’ll need to make your THC e-cig vape juice, it really depends on the specific method that you’re going to use. If you do a simple search on YouTube, for example, you’ll find several different techniques and methods that you can use, all of which seem to work.
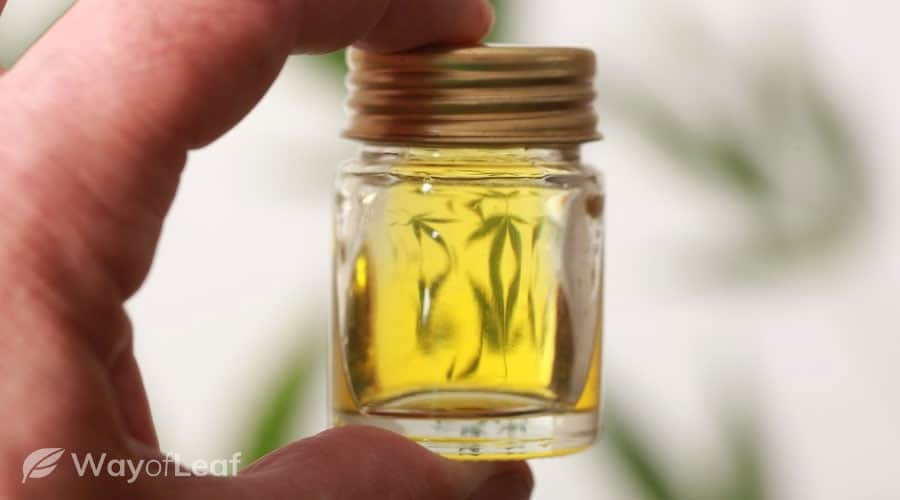
Generally speaking, the three main ways to make THC oil for e-pens are:
| TYPE OF THC EXTRACTION | HOW LONG DOES IT TAKE? |
|---|---|
| Vegetable Glycerin (Long-Term) | 2-3 months |
| Vegetable Glycerin (Short-Term) | 3-4 hours (uses the same general method as long-term extraction, but involves precise heating in an oil bath) |
| Rosin Extraction | 1-2 hours |
We will go over the steps for all three of these methods, but we will say that in terms of purity, safety, potency, and overall quality, we recommend using the rosin extraction with a hair straightener method.
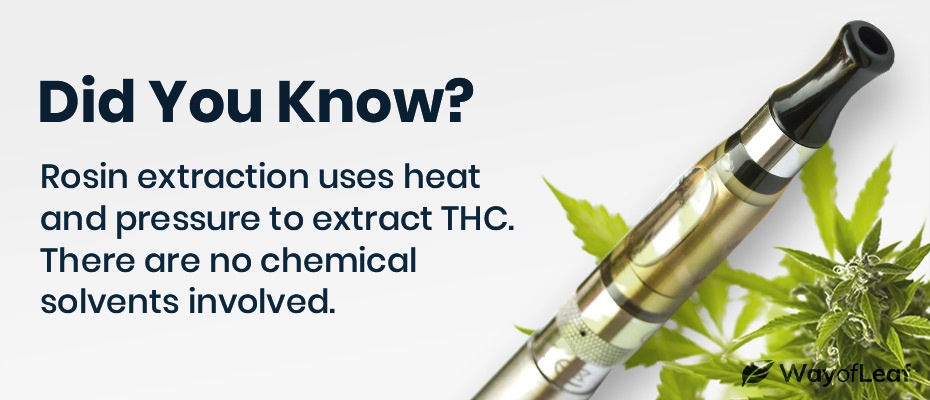
This is because the other two methods involve using potentially dangerous solvents that, when heated to high enough temperatures, may break down into carcinogenic formaldehyde that you definitely do not want to be inhaling. (Traditionally, PEG400 or a mix of polyethylene glycol (PEG), propylene glycol (PG) and vegetable glycerin (VG) have been used. However, all of these – except for VG – have been shown to break down into carcinogenic compounds at extremely high temperatures. You can make a vape juice using only vegetable glycerin, but it tends to be a little lower in potency and overall quality).
In any regard, we will go over the process for making the e-juice using all three of these methods, and you can choose which one you want to employ based on the amount of time you have, and the materials you’ve got on hand.
THC Oil for E-cigs: Method #1 – Vegetable Glycerin Extraction (Long-Term)
This method essentially involves grinding up raw cannabis flower (high THC), and then saturating it with food-grade vegetable glycerin and letting it sit for a really, really long time (up to three months), while stirring it/straining it every several weeks. Not a very popular method due to the amount of time it takes, but it’s simple and hard to mess up (unlike the other two methods).
Here are the materials that you’ll need to use this method:
- Marijuana flower/buds (you can use as much or as little as you want, but for reference, an eighth oz (3.5 g) of weed will produce about 30-60 mL of vape juice. (You can also use a high-grade cannabis concentrate, such as BHO wax, shatter, etc to produce a more potent e-liquid)
- Pure USP food grade vegetable glycerin
- Baking sheet (or oven-safe Pyrex bowl)
- Aluminum foil
- Oven
- 2 glass jars with a tight-sealing lid (we recommend something like a Mini Hermes Jar with an anchor lock)
- Stirring wand
- Wire mesh strainer
- Flexible rubber spatula (small enough to fit inside the mesh strainer)
- Cheesecloth (or cotton muslin bag)
- Freezer
To start, first, you’ll need to grind up your raw marijuana buds. We don’t recommend using an actual grinder, because if you get the flower too fine, a lot of it won’t filter out during refinement and you’ll be left with a lot of ground-up herb in your final vape liquid. Just break the bigger nugs apart with your hands until everything is a smaller, uniform size.
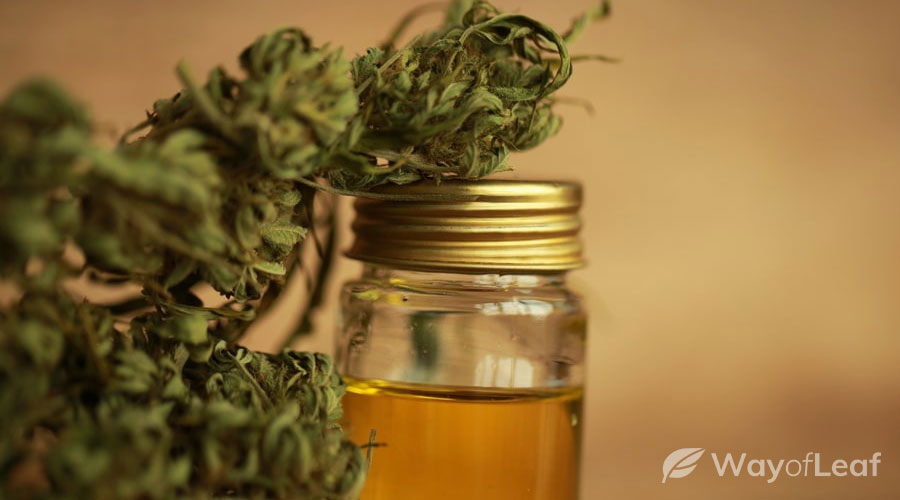
Here are the steps, in order:
- Break up the raw buds into smaller pieces by hand.
- Cover your baking sheet with aluminum foil, and spread out the buds onto the sheet.
- Place the baking sheet into the oven at a temperature of 250℉ (121℃) for about 30 minutes. This is a crucial step because it decarboxylates the THCA in the raw buds, into psychoactive THC.
- Take the buds out of the oven and let them cool off for a few minutes.
- Dump the buds into your glass jar with the sealing lid, and pour just enough vegetable glycerin (VG) over them so that it saturates the buds. You do not want to use too much VG, because your end product will end up becoming super diluted and will have almost no psychoactive effects. If you use the right amount of VG, you should be left with a thick, clumpy, gooey mixture that’s easily stirrable but not too liquidy.
- Stir up the mixture, seal the lid, and put a label on it with the date. You will let this sit in a safe, cool, dark, dry place for about a month.
- After a month or so, take the jar out and stir it up thoroughly. Add about a tablespoon of fresh VG in order to keep the THC extraction process moving along. Stir/mix up again, and set aside in a safe place for another month.
- Repeat this same process, adding another tablespoon of fresh VG. Place back in a cool, safe place for one more month. (On a side note, feel free to mix/stir up the jar as frequently as you want during the three month period, even on a daily basis if you want. The more it is mixed up, the better).
- After the last month is up, take the mixture out and stir it up nicely with your stirring wand. Then, place your small wire mesh strainer over a clean glass jar (this one doesn’t need a seal), and dump the cannabis/VG mixture into the strainer. Let all of the VG drip through the strainer, using the rubber spatula to squeeze out as much remaining liquid as you can.
- Discard the raw cannabis material, clean off your mesh strainer, and then cover the strainer with about four layers of cheesecloth (you can also use a cotton muslin bag).
- Pour the cannabis/VG liquid mixture onto the cheesecloth or muslin bag, letting it drip through into a clean glass jar (you can use the same one that you did for the first filter as long as you clean it out).
- Squeeze out any remaining liquid from the cheesecloth/muslin bag as you can, and then you’re done! If everything went correctly, you should be left with a clean, debris-free VG liquid infused with THC extract, at which point you can use a syringe or dropper bottle to add to your vape cartridge.
- Enjoy! (For maximum effect and taste, allow about 15-20 minutes after you add the THC e-juice to the vape cartridge before you begin vaping. This allows the wick to fully absorb the e-liquid).
THC Oil for E-cigs: Method #2 – Vegetable Glycerin Extraction (Short-Term)
So this method involves pretty much the same process as the first method, although it involves heating the cannabis/VG mixture to drastically speed up the process (from three months to only about 3-4 hours).
Here are the materials that you’ll need:
- Raw cannabis flower
- Pure USP food grade vegetable glycerin
- Canola or vegetable oil (for oil bath heating)
- Pot for boiling (or preferably glass Pyrex jars/dishes that can sit on a stove burner)
- Stovetop
- Two precise thermometers (cooking thermometers work well)
- Fine mesh strainer
- Cheesecloth
- Mixing/stirring wand
- Rubber spatula
Basically, this method involves mixing the raw cannabis flower into VG just like you did in the first method, but instead of letting it sit for months/weeks at a time, you’re going to “cook” the liquid mixture in an oil bath to dramatically speed up the diffusion process.

Here are the steps:
- Break up your raw cannabis buds by hand into relatively small pieces and dump them into a Pyrex (or other heat-safe) glass jar.
- Pour just enough vegetable glycerin (VG) over the buds to saturate them, but be careful not to add an excessive amount. Stir the mixture up until it is evenly distributed. You should be left with a thick, clumpy, cannabis/VG mixture that’s not too liquidy.
- Pour some of your canola oil or vegetable oil into a larger Pyrex/heat safe pan. You will be setting the Pyrex jar with the cannabis/VG mixture into this oil, and letting it heat up in the “oil bath.” (You’ll want to put enough canola oil into the glass pan so that only about 1-2 inches of the jar with the VG mixture sits submerged).
- Put the pan with the canola oil onto a stovetop or hot pad, and heat it up until it’s at a consistent 220℉ (this is an important step, and is why you need a good, reliable cooking thermometer).
- Once at temperature, place the glass jar with the cannabis/VG mixture into the hot oil bath. You’ll want to use a separate thermometer for this jar, and try to maintain it at a temperature as close to 180℉ as you can (in other words, you’ve got the outer oil bath boiling at 220℉, and then the inner glass jar sitting in it and boiling at 180℉. This temperature is crucial as it allows the THC from the raw buds to diffuse into the VG liquid. If you go much hotter than this, you risk the THC breaking down into CBN, which doesn’t provide much of a high).
- Once your temperatures are stable and consistent, let sit for about 45 minutes, stirring the cannabis/VG mixture frequently.
- After 45 minutes, remove the glass jar from the oil bath and let it sit for a few minutes to cool down. Then, place your fine mesh strainer on top of a clean glass jar, and dump the cannabis/VG mixture into the strainer. This will be your “first run” of THC e-liquid. You’ll need to use the flexible rubber spatula to press/squeeze out the liquid from the clumped-up buds, through the strainer, and into the clean jar.
- Once you’ve got this first run squeezed out as much as you can, put those same cannabis buds back into a glass jar, adding more VG to repeat the process (all in all, you will be doing three runs total, repeating steps 2-7. *And on a side note, that “first run” will by far be your most potent THC liquid, so you can either leave this separated for a super-strong vape juice, or you can add runs 2 and 3 to it to increase your total volume. It’s up to you how you want to do it).
- After you’ve repeated steps 2-7 an additional two times (adding fresh VG and making sure to maintain your key temperatures both times), you’ll need to further refine your VG mixture with cheesecloth to filter out any remaining plant debris. Clean off your mesh strainer, and lay about four layers of cheesecloth on top of it. Pour the VG mixture onto the cheesecloth, letting it drip down into the clean glass jar as much as it can. Use the rubber spatula to squeeze as much liquid out as possible (you can even use your hands to squeeze out any remaining liquid that you can’t get with the spatula).
- After you’ve filtered all of the liquid through the cheesecloth, you’ll want to boil the refined THC liquid in your oil bath at 220℉ for about 30 minutes to fully decarboxylate the THCA into THC (you’ll have to increase the temperature of the “outer” oil bath in order to get the temp of the “inner” glass jar to 220℉). Watch out for the liquid to start bubbling (giving off carbon bubbles), and be careful not to go much above 220℉ as this will cause the THCA to convert into CBN).
- If everything has been done correctly, you should be left with a potent, clean, debris-free VG liquid that’s infused with THC extract, at which point you can use a syringe or dropper bottle to add to your vape cartridge and begin vaping.
- Enjoy! (For maximum effect and taste, allow about 15-20 minutes after you add the THC e-juice to the vape cartridge before you begin vaping. This allows the wick to fully absorb the e-liquid).
THC Oil for E-cigs: Method #3 – Rosin Extraction (Mixed in with Vape Solution)
As we mentioned earlier, this is our preferred method to make THC oil for vape pens because it’s the highest quality, most potent, most flavorful, and (perhaps) even the safest because it doesn’t use any thinning agents.
Also, it’s quicker than both of the other methods and you can use already-made THC concentrates (such as shatter or BHO wax) if you don’t have the tools to press your own rosin!
If you do want to start from raw nugs and press your own rosin, however, you will probably have to purchase some special products that you are unlikely to already have.
Here’s what you’ll need:
- Some dry herb (has to be dense nugs, ground-up buds will not work)
- Hair straightener
- Parchment paper
- Small glass vial for mixing
- 1 g bottle of The Potion Natural Terpene Solution
- Lighter
- Vape pen cartridge syringe (for adding the THC e-liquid to your e-cig)
- Mixing wand
- Dropper bottle (for adding The Terpene Potion to the glass vial)
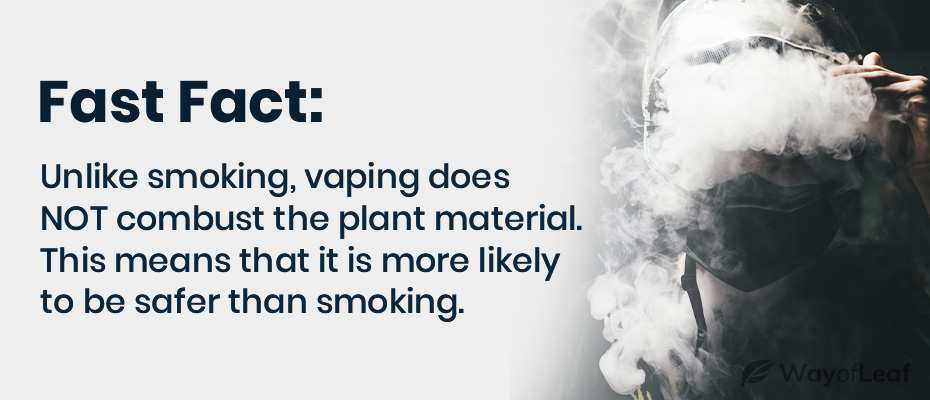
Basically, this method involves using a hair straightener to press rosin from a raw marijuana nugget, collecting the rosin off of the parchment paper, adding in a few drops of The Potion Terpene Solution, and heating it up to mix it together. A little tricky if you’ve never done it before, but like we said – the most potent, highest quality, and best tasting of the three different methods.
Here are the steps:
- Select a good, dense nug to use for pressing out the resin. This is a crucial step, as it’s imperative that the nug be dense and tightly-packed with almost no seeds or stems. To obtain enough e-liquid to use in your e-cig or vape pen, you’ll probably need to end up using about 3g of fresh buds (or right around an ⅛ oz). Either way, your goal is to get about 0.4g-0.6g of rosin. You will probably have to press several different buds separately in order to get this much.
- Once you’ve got your densely packed, high-quality nugs, get your hair straightener ready. A good temperature to press rosin from nugs is about 250-280℉, so if you know what temperature your hair straightener is operating at, you can adjust accordingly. (If the minimum setting is a higher temp than this, you can let it get hot, then unplug it and let it sit for several seconds to cool down and try and get into that 250-280℉ range). As we said, a lot of this method is trial and error – especially if this is your first time doing it. Try not to get frustrated.
- Set the nug on a good-sized piece of parchment paper, and fold the paper over the top so the nug is sandwiched between. Then, once the hair straightener is up to temperature, put the rosin paper in the straightener and press down with as much force as you can for several seconds, careful not to burn the nug (or the paper). If done correctly, you will be left with a small amount of resin on the parchment paper that you can later peel off.
- Repeat steps 2-3 with fresh nugs and fresh parchment paper until you’ve gone through about 3 grams of dry herb. Like we said, you’ll need at least about 0.4g of rosin to get a decent amount of e-liquid for vaping. (You can use less than this, but it won’t be as potent).
- Once you’ve got about 3g of buds pressed into rosin, you’ll need to collect the rosin off the parchment paper. It’s best if you stick it in the refrigerator for a minute or two, as this helps it peel off the paper easier. Also, don’t touch it with your hands – we like to use the ball end of a metal dabbing wand to kind of “roll it” it off the paper into one big ball.
- Once you’ve got about 0.4-0.6g of rosin collected, put all of it into your small glass vial.
- Next, use a dropper bottle to add 8 drops of The Potion Terpene Solution to the vial (use 8 drops for approximately 0.5g of rosin).
- Once you’ve got the rosin and The Potion in the vial together, use a lighter to “flash heat” the glass, just until the liquid starts to bubble (this only takes about 3-4 seconds). Be very careful with this step, because if you let the solution get too hot, you’ll burn off all the terpenes and kill the flavor of the e-juice (not to mention risk burning the THC rosin itself).
- Immediately after The Potion liquid starts bubbling, use your skinny metal dab wand or mixing wand to mix the solution up thoroughly. Then, use your syringe to suck out the liquid and add it to your e-cig or vape pen.
- That’s it! If everything was done correctly (yes, we realize that’s a BIG ‘if’), you should be left with a small amount of high-THC vape liquid that is potent, safe, and super smooth tasting.
[A couple of important notes about this method – the end product you get is a little bit “gunkier” than most pre-packaged vape liquids or e-cig juices. If you’re worried about “gunking up” your expensive concentrate vape pen, we recommend using the cheaper disposable atomizers (aka clearomizers). Also, The Potion Terpene Solution that we used is basically an extract of the active terpenes from various popular marijuana strains (Sour Diesel, Grapefruit Kush, Skywalker, etc). It is kind of hard to find, but there are other companies that sell a similar product made specifically for liquifying concentrates into “vape-able” e-liquids].
Homemade THC Oil? Don’t Forget About Decarboxylation!
One thing we want to emphasize here is the importance of temperature in all of these various steps. While the steps themselves may seem simple and straightforward enough, you really have to pay close attention to temperatures to make sure that you don’t char your THC oil, and/or burn off the important cannabinoids and terpenes that are present. If you do, you’ll be left with a nasty, useless cannabis concentrate oil that will not vape well at all and will not produce any effects.
In the first method, you’ll remember that we “baked” our broken down buds in the oven at a temperature of 220℉ for about 25-30 mins. This should provide excellent decarboxylation of THCA into THC, as well as the decarboxylation of other cannabinoids without “damaging” them (or any other terpenes, flavonoids, etc that may be present).
For the most efficient decarboxylation, weed should be exposed to temperatures of about 220-280℉ for between 30 minutes and an hour. If you exceed about 300℉, the chemical composition of both the cannabinoids (THC) and the terpenes begins to break down, at which point you’ll be left with a useless, nasty-tasting weed oil.
Final Thoughts on How to Make THC Oil for E-Cigs
As we mentioned, if it all possible we recommend you purchase a THC weed oil (one that’s been made specifically for vaping) from an established, reliable dispensary. This way, you know you’re going to get a high-quality and safe product, and you won’t run the risk of wasting any good weed or injuring/burning yourself along the way.
Even the easiest-to-follow cannabis oil recipe is not exactly a cakewalk – especially if you’re doing it for your first time (which, if you’re reading this article, you probably are).
That being said, we realize that there are only a few states in the U.S. where THC juice is legal to buy recreationally, so we know there are a lot of people out there wanting to know how to make a potent, high-quality vape oil for their e-cigarette right from home, using regular marijuana bud and regular around-the-house ingredients. Hopefully this article helped you to do that in some way.
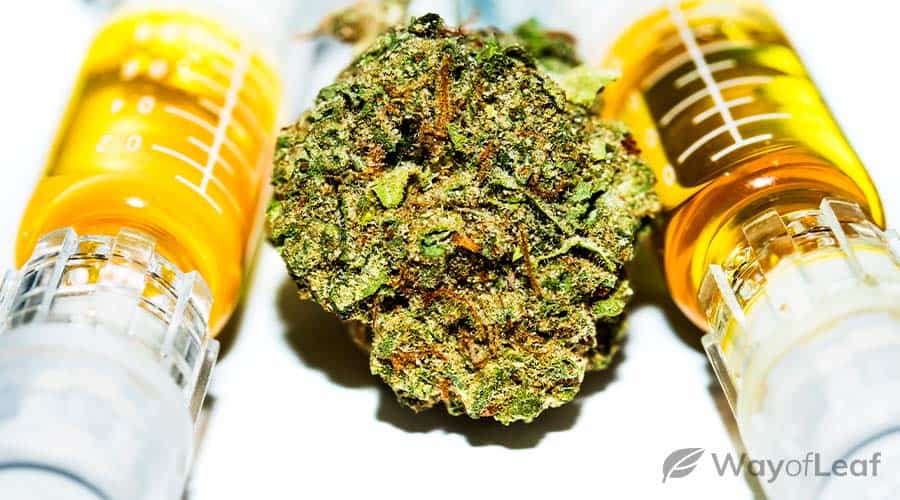
And of course, no matter what kind of pure THC vape oil you end up with, there’s every chance that it will be safer and healthier for you when used in a vape oil pen or vape mod, than are those smoke shop e-liquids you get with the nicotine/THC pre-filled cartridges.
Lastly, we want to reiterate the fact that if you choose to carry out any of the steps listed above, you are doing so at your own discretion. WayofLeaf is not responsible for any injuries, damages, etc. that may occur during any of the outlined processes.
Moreover, as we’ve mentioned a few different times now, we do not recommend you try this. Rather, you will probably be much better off simply going to a weed dispensary where they sell THC vape oils, and buying a product there. (And only, of course, if you live in a state where this is legal).


![What Is Kush Weed? [The Rookie’s GUIDE]](https://wayofleaf.com/wp-content/uploads/2018/11/what-is-kush-marijuanaand-where-does-it-come-from-640x225.jpg)
![What Should You Do If Your Pet Eats Your Weed? [Answered]](https://wayofleaf.com/wp-content/uploads/2018/11/wol-banner-what-should-you-do-if-your-pet-eats-your-weed-640x225.jpg)

![Does Weed Go Bad? [Explained]](https://wayofleaf.com/wp-content/uploads/2019/08/wol-banner-does-weed-go-bad-640x225.jpg)
![Why Is CBD so Expensive? [The TRUTH Revealed…]](https://wayofleaf.com/wp-content/uploads/2018/07/mj_why-is-cbd-so-expensive_1920-640x225.jpg)

![Bad Reaction to CBD? [When & When Not to Be Concerned]](https://wayofleaf.com/wp-content/uploads/2020/09/wol_banner_bad_reaction_to_cbd-640x225.jpg)
